In part one of this two-part series we examined the essential elements in putting together a recording facility for your school, including the choice of equipment and the impact of acoustics on the quality of your final recording.
This month we concentrate on what is commonly called the Control Room or Recording Room: a dedicated space where your recording equipment will be located. We’ll look first at the key elements in any school studio; although you can use this as a check list for planning a new department, its always advisable to get some expert advice as part of the development process.
Location and Design
We discussed some acoustic issues related to recording locations last month, but if you are considering a permanent solution there are a number of important factors to consider.
- The Control Room should be conveniently located adjacent to a suitable performing space (such as the music classroom)
- It should be large enough to hold a number of students and a teacher at any one time: the exact size will depend upon the size of the classes which will be using it
- Sight-lines are important, so ensure that triple-glazed windows are installed to allow effective monitoring. Any window or door units should also be mounted on rubber seals to help reduce sound spillage
Avoid parallel walls, as these can cause unpleasant ringing sounds at higher volumes. If this is already the case, get some advice about installing remedial acoustic treatment.
Furniture and Cabling
To get the best out of your equipment it needs to easily accessible and also permanently connected through to the performing space. This will help avoid any potential delay in the creative process, as students or teachers try to find the right cable to connect to the right socket!
Although purpose-built studio furniture is not essential, it will allow equipment to be located effectively within the Control Room: for example, monitor speakers will be at the correct height, and rack-mountable equipment safely and neatly installed into dedicated bays. In the absence of such furniture, a sturdy table or bench can suffice, though do make sure that it is large enough to carry all the equipment you will be using.
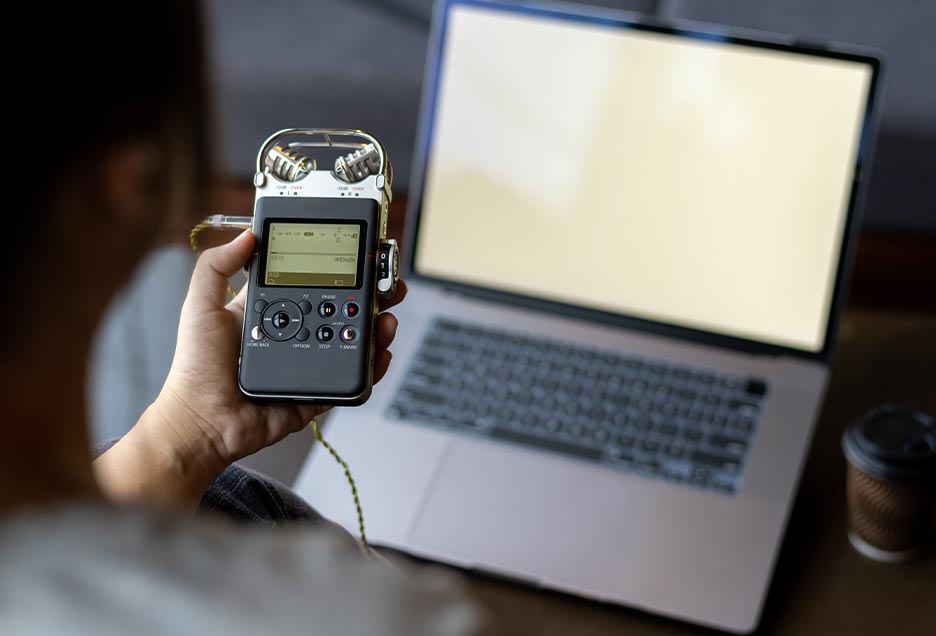
Ideally your studio will come equipped with built-in cabling to microphone points in the performing room, but even so you may need a short loom (a set of separate connectors combined into one cable) to run from the wall plates to your recorder or interface. If you are planning a new studio, why not consider having cables installed that will also run to larger venues – maybe the school hall or drama theatre? This will allow you to record live performances more easily on separate tracks, giving some ability for subsequent editing after the event. If cabling has not been provided, it is probably wise to invest in a multicore or snake – this provides a number of connections on a long, single cable. And many new digital mixers now allow all the recorded signals to be transferred over a CAT5E or CAT6 cable - as long as you have the associated digital stagebox which you plug the microphones into.
Finally, use good quality cables for every connection within the studio. Not only will this improve the sound quality (reducing noises and hum), they will probably last longer as well!
Planning the perfect recording
There’s no such thing, of course, but with a little foresight and care it should be possible to capture the performance accurately. That doesn’t mean the performers will get everything right, though!
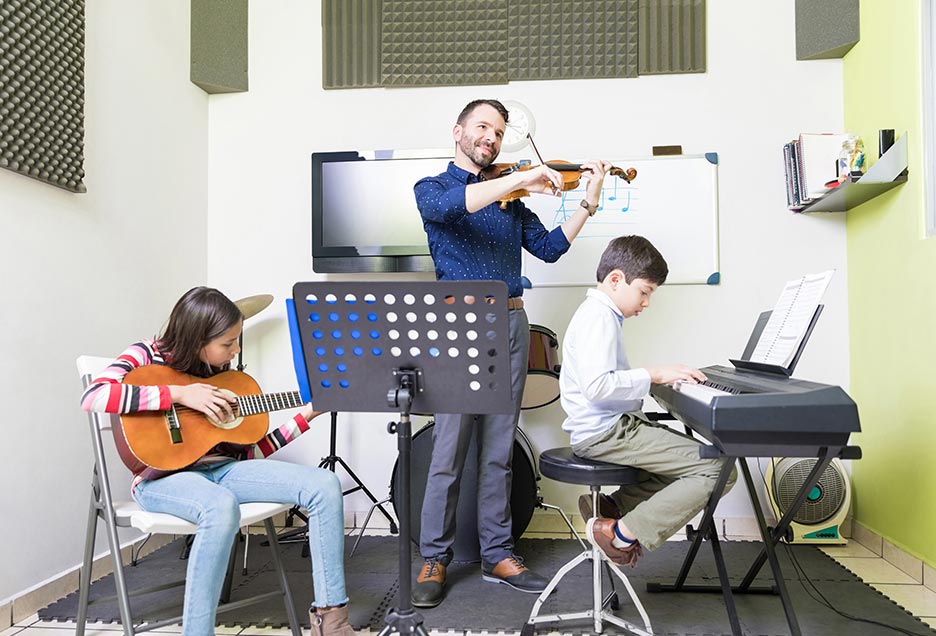
- Know what you will be recording. The preparation for a live rock band or for a solo singer will be different. Make sure you have what you will need to hand before the session starts: microphones, stands, cables, headphones (for the performers), as well as the right instruments
- Allow lots of time. Recording a five minute piece of music might take several hours, depending on the component parts and how many re-takes are required. This is especially true for those pieces which require ‘layering’ or multitracking
- Prepare the performance space. Rattling snare drums, noisy pupils outside, and out-of-tune instruments do not make for successful recordings. You might also want to utilise some acoustic screens, whether proprietary or improvised, to help prevent the sound from louder instruments spilling onto other microphones
- Allow time for mixing. Even simple stereo recordings may need to be edited, removing unwanted sounds from the start or end, transferring onto CD, or bouncing to MP3. Leave adequate time for this to happen after the recording.
It really is worthwhile investing time and money in a good recording facility. Since a recording captures a fixed moment in time (unlike a live performance), it’s important to make it as good as possible, and to take the time to fix obvious errors.
Finally, remember that for some pupils taking home a CD or MP3 of their performance or composition could be one of the highlights of their school career!